

Spring Safety: Sanitizing Tools to Prevent Disease Spread
Sanitizing Tools to Prevent Disease Spread
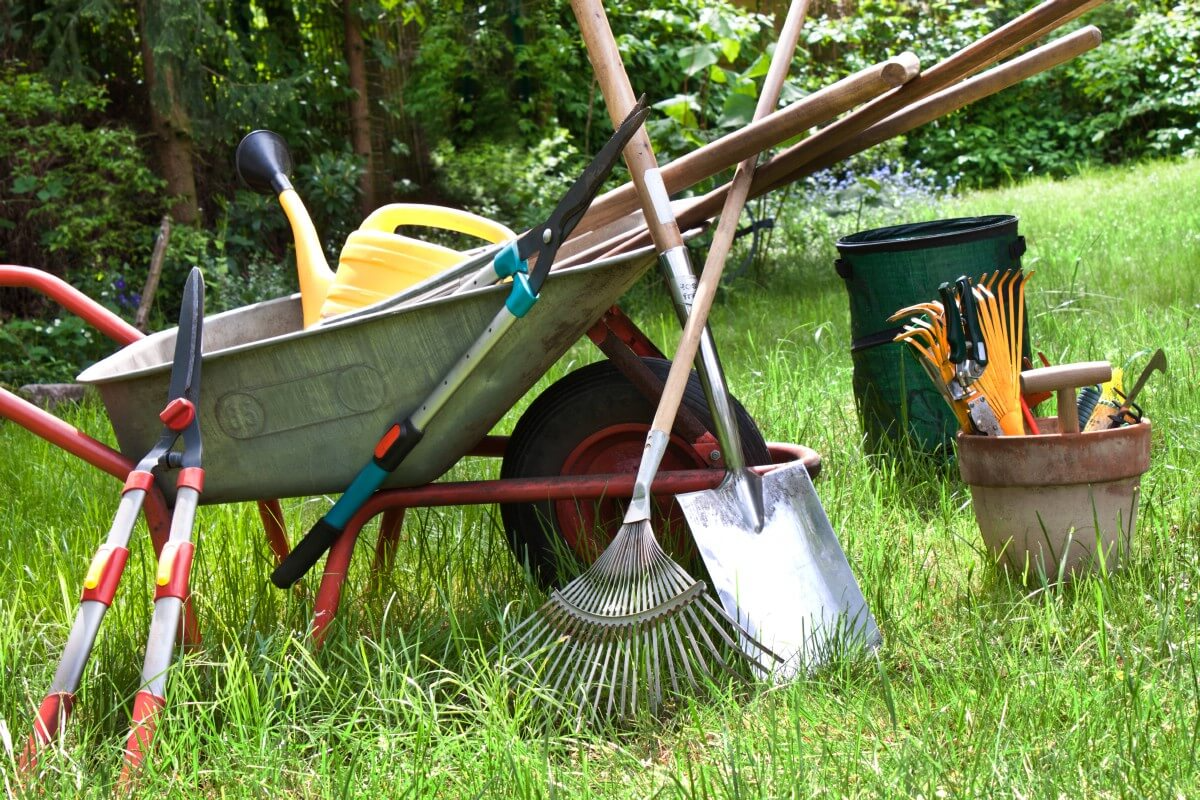
Every spring, gardeners across the Seacoast pull their pruners, loppers, and saws out of winter storage and get to work — and most of them skip one of the most important steps in the entire pruning process. Tool sanitation is not glamorous, and it does not make for a dramatic before-and-after photo. But in a garden, a dirty blade can do more damage than a missed pruning altogether. The pathogens that cause fire blight, black knot, rose mosaic virus, and a host of fungal diseases can travel invisibly from plant to plant on the cutting edge of your favorite bypass pruner.
This is especially true on the Seacoast, where our humid maritime springs and variable temperatures create ideal conditions for fungal and bacterial disease to establish and spread. Understanding how and when to sanitize your tools is one of the simplest upgrades you can make to your spring garden practice — and once it becomes habit, it takes almost no extra time at all.
Why Tool Hygiene Matters More Than You Think
Plant pathogens are opportunists. They move into fresh pruning wounds quickly, particularly when temperatures are mild and moisture is present — exactly the conditions we experience from April through June in Zone 6b. A single cut into a branch infected with fire blight, and then one more cut into a healthy apple tree across the yard, is all it takes to introduce a devastating bacterial infection to a tree that was perfectly fine that morning.
The same principle applies to roses, ornamental cherries, viburnums, and dozens of other woody plants common in Portsmouth and Exeter gardens. Many homeowners discover disease problems weeks or months after the fact and have no idea that a contaminated pruning tool was the entry point. Prevention through sanitation is far easier than managing a full-blown infection after it takes hold.
What to Use and What to Avoid
The two most practical sanitizing solutions for garden tools are isopropyl alcohol at 70 percent concentration and a diluted bleach solution mixed at one part household bleach to nine parts water. Both are effective against a broad range of bacterial and fungal pathogens. Alcohol is gentler on tool metal over time and dries quickly, making it the preferred choice for between-cut sanitizing during active pruning sessions. The bleach solution is more aggressive and works well for tools that have been in contact with confirmed disease, but it should be rinsed off promptly and tools should be dried and lightly oiled afterward to prevent corrosion.
Avoid using undiluted bleach, hydrogen peroxide at household concentrations, or hand sanitizer as substitutes — these are either too harsh on metal, insufficiently effective against plant pathogens, or both. Invest in a small spray bottle or a shallow dipping container that you can carry with you through the garden, and make the wipe-down a natural pause between plants rather than a separate chore.
When to Sanitize — and How Often
There are three moments in any pruning session when tool sanitation is non-negotiable. The first is before you begin — always start with clean tools, even if they look fine from last season. The second is whenever you move from one plant species to another, particularly when working with roses, fruit trees, or any plant with a known history of disease in your garden. The third is immediately after any cut that looks suspicious — discolored wood, shepherd's crook dieback, unusual oozing, or bark that smells sour or fermented.
During a heavy pruning session on a single healthy plant, you do not need to sanitize between every cut. But the moment you finish one plant and move to the next, wipe or dip the cutting surfaces before you proceed. In a garden with a history of fire blight — common in apple and pear trees throughout our Seacoast communities — sanitize between every single cut without exception during the growing season.
Caring for Your Tools Beyond Sanitation
A clean tool is only as effective as a sharp one. Dull blades crush and tear plant tissue rather than making a clean cut, and ragged wounds are significantly more vulnerable to pathogen entry than smooth ones. Before spring pruning begins in earnest, sharpen your bypass pruners with a whetstone or a purpose-made sharpener, and check that the blade tension is adjusted correctly so the tool cuts rather than squeezes.
After each pruning session, remove visible sap and debris with a rag and a little rubbing alcohol, apply a thin coat of tool oil or camellia oil to metal surfaces, and store tools somewhere dry. In our coastal environment — where salt air accelerates rust on unprotected metal, particularly in exposed gardens in Rye, New Castle, and Hampton — this kind of routine maintenance extends tool life considerably and keeps cutting surfaces performing the way they should.
Trust Your Spring Pruning to Expert Pruning
If you are heading into spring pruning season unsure whether your tools are up to the task, or uncertain how to identify early disease signs in your roses, fruit trees, or ornamental shrubs, this is exactly the kind of guidance we offer every day across the Seacoast — from Portsmouth and North Hampton to Kittery, South Berwick, and Eliot. At Expert Pruning, every visit begins with clean, sharp, properly sanitized tools, and every cut is made with your plant's long-term health in mind.
Reach out this spring and let us bring that standard of care to your garden. Healthy plants start with the right technique — and the right tools to deliver it.